Before diving into the functionality of the ZEUS astroprocessor and its methods, let’s get acquainted with its interface. The main window of the program, in addition to the menu, contains seven areas, each of which we’ll discuss separately.
Scene
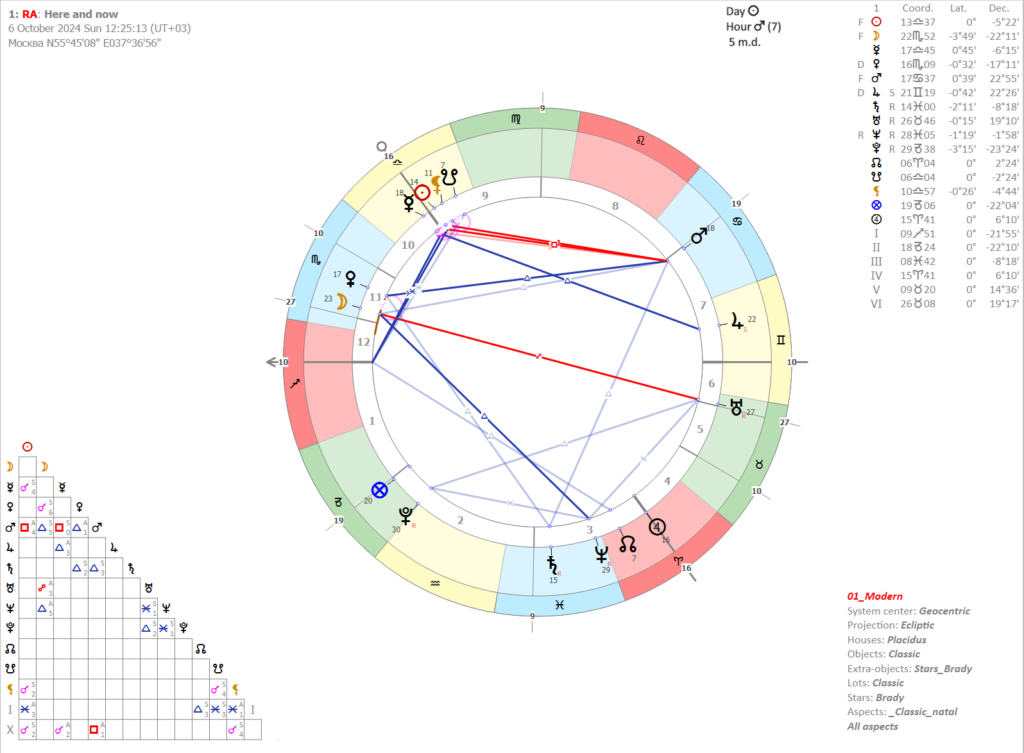
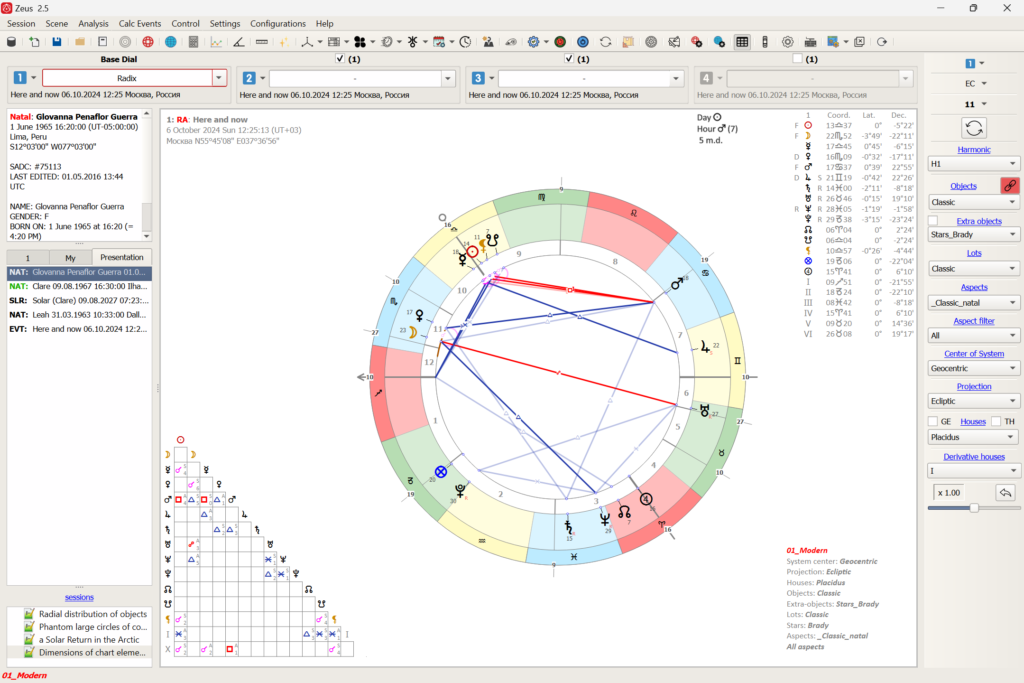
The largest area of the interface is called the Scene. The Scene displays the primary visual information, which can vary depending on the mode—such as an astrological chart, a geomap, or the celestial sphere. Around the astrological chart, the Scene may also display various calculation tables or graphical elements.
Top panel

The Top Panel contains four areas, each dedicated to a specific dial, and allows quick management of its settings. Here, you can set the chart type, control the number of objects displayed, determine their participation in aspect calculations, enable or disable the dial for display, and access a wide range of other features.
Left panel
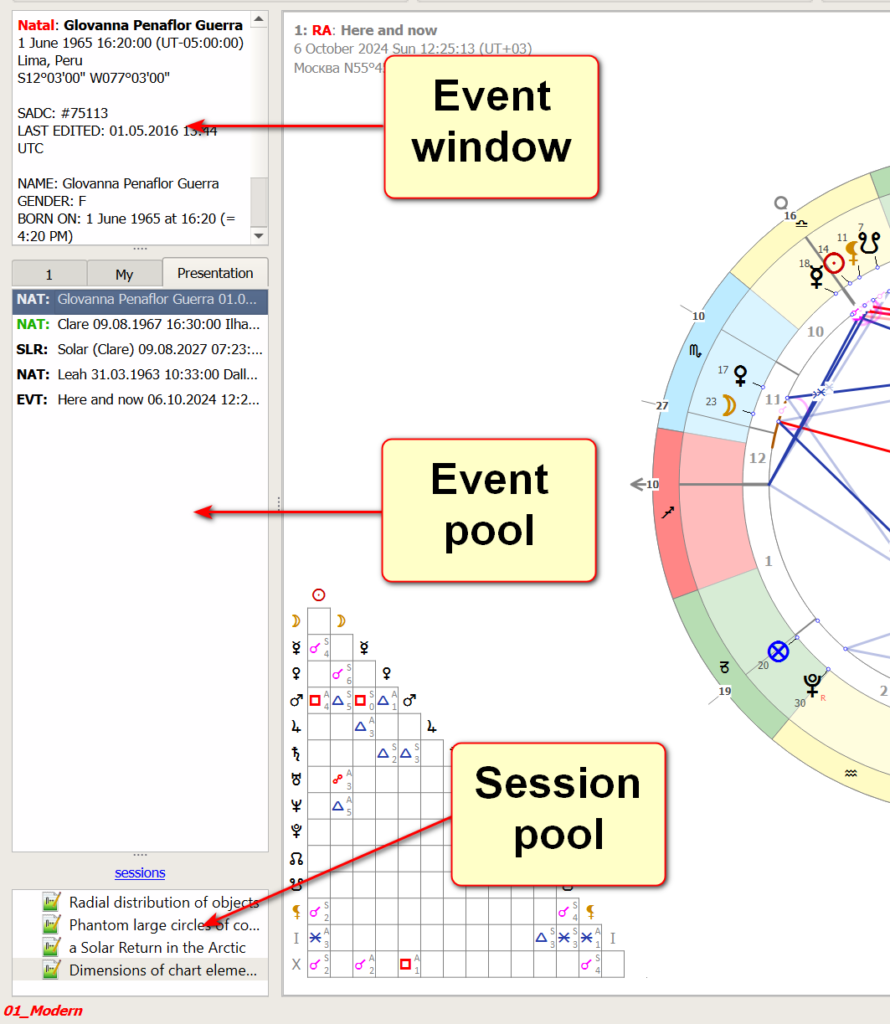
The Left Panel is divided into three areas: Event Window, Event Pool, and Session Pool.
- Event Pool contains newly created events or events loaded from the database, as well as those generated during the program’s operation. Unlike the main database, the Event Pool keeps these events readily accessible. It includes a context menu with various options and settings, offering both service functions and options to calculate chart types that use multiple events: the Solar Equations chart, the Davison Mean Chart, and the Composite chart.
- Event Window provides detailed information about the selected event in the Event Pool.
- Session Pool holds all saved sessions in the chosen folder. A session includes information about the current configuration settings, events in each dial, the dials’ activity, the chart types in each dial, the current dial number, aspecting directions, and panel visibility.
The width of the Left Panel can be adjusted by moving your mouse over the border between it and the Scene (the cursor will change appearance), then clicking and dragging in the desired direction.
Right panel
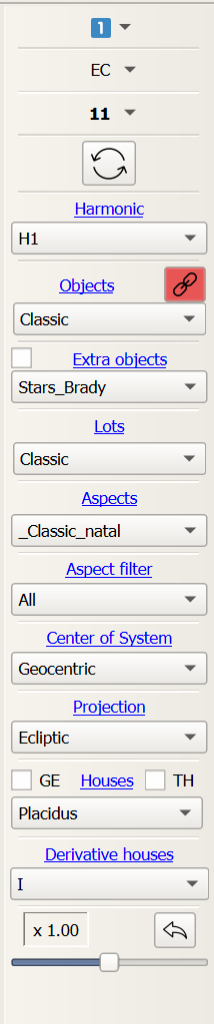
The Right Panel provides quick access to various chart settings. Users can customize this panel, adding only the control elements they need. The panel can be composed of simple icons that link to dialog boxes or full-fledged widgets. The appearance of this panel can be customized independently for each configuration.
Toolbar
The Toolbar is located beneath the main menu and allows you to duplicate almost all menu items as icons. The main menu itself can be disabled. The appearance of the Toolbar is globally configurable and does not depend on individual configurations.
Program header
In addition to the program name and version number, this area can display dial data if the relevant settings are enabled.
Status bar
The Status Bar, in addition to showing information about various modes and settings, can include links for quick access to these settings. Users can customize the Status Bar to include only the control elements they find useful. Its appearance can be configured independently for each configuration.
The configurable panels (Toolbar, Right Panel, and Status Bar) can be adjusted by right-clicking on any empty space in the chosen panel.
Hotkeys for showing/hiding panels:
- 1 – Show/Hide the Left Panel
- 2 – Show/Hide the Dials Panel
- 3 – Show/Hide the Right Panel
- F3 – Show/Hide the Main Menu
- F6 – Show/Hide the Toolbar
- F4 – Show/Hide the Status Bar
- F2 – Show only the Scene
Now you’re familiar with all areas of the interface. In future articles, each of these areas will be discussed in more detail.